AI Application Development with LangChain, LangFlow&Flowsie

About

Unlock the full potential of AI-driven applications with AI Application Development with LangChain, LangFlow & Flowsie. This powerful product suite is designed for developers, startups, and enterprises looking to integrate advanced language model capabilities into their applications with minimal friction.
With LangChain, you can create sophisticated AI workflows that connect language models to external APIs, databases, and computational tools. Automate complex processes, design multi-step chains, and build context-aware applications that understand and respond intelligently to user inputs.
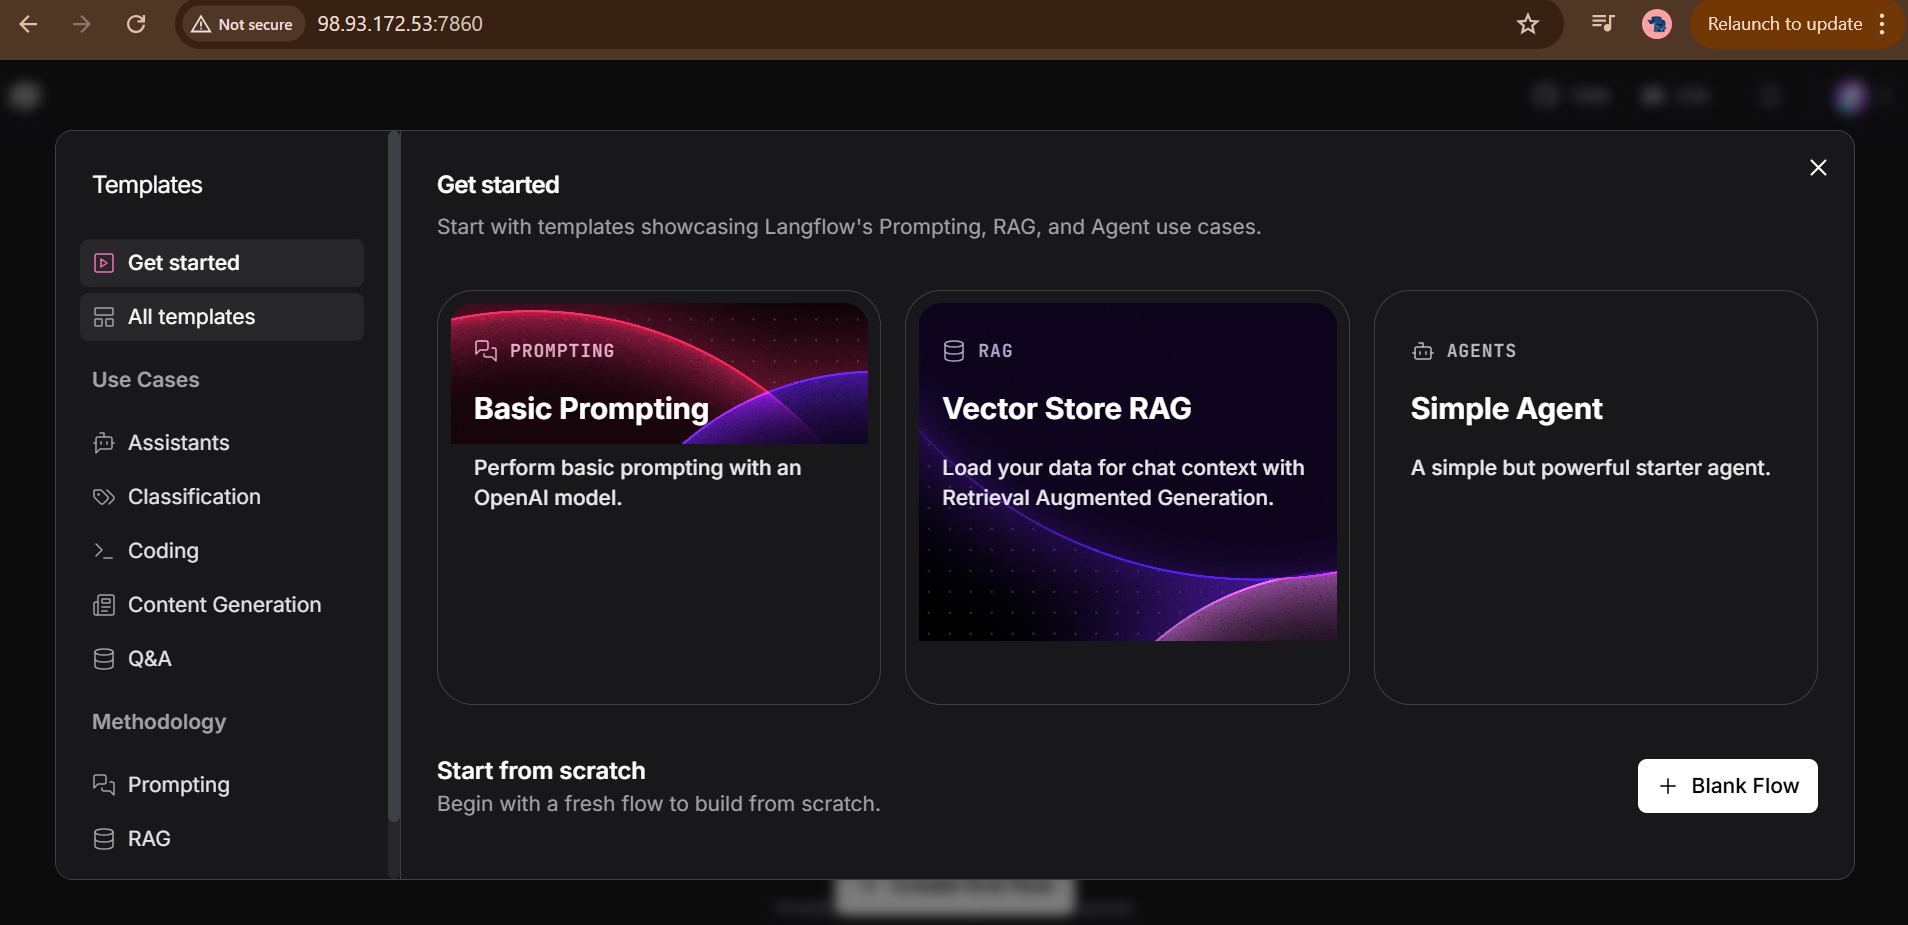
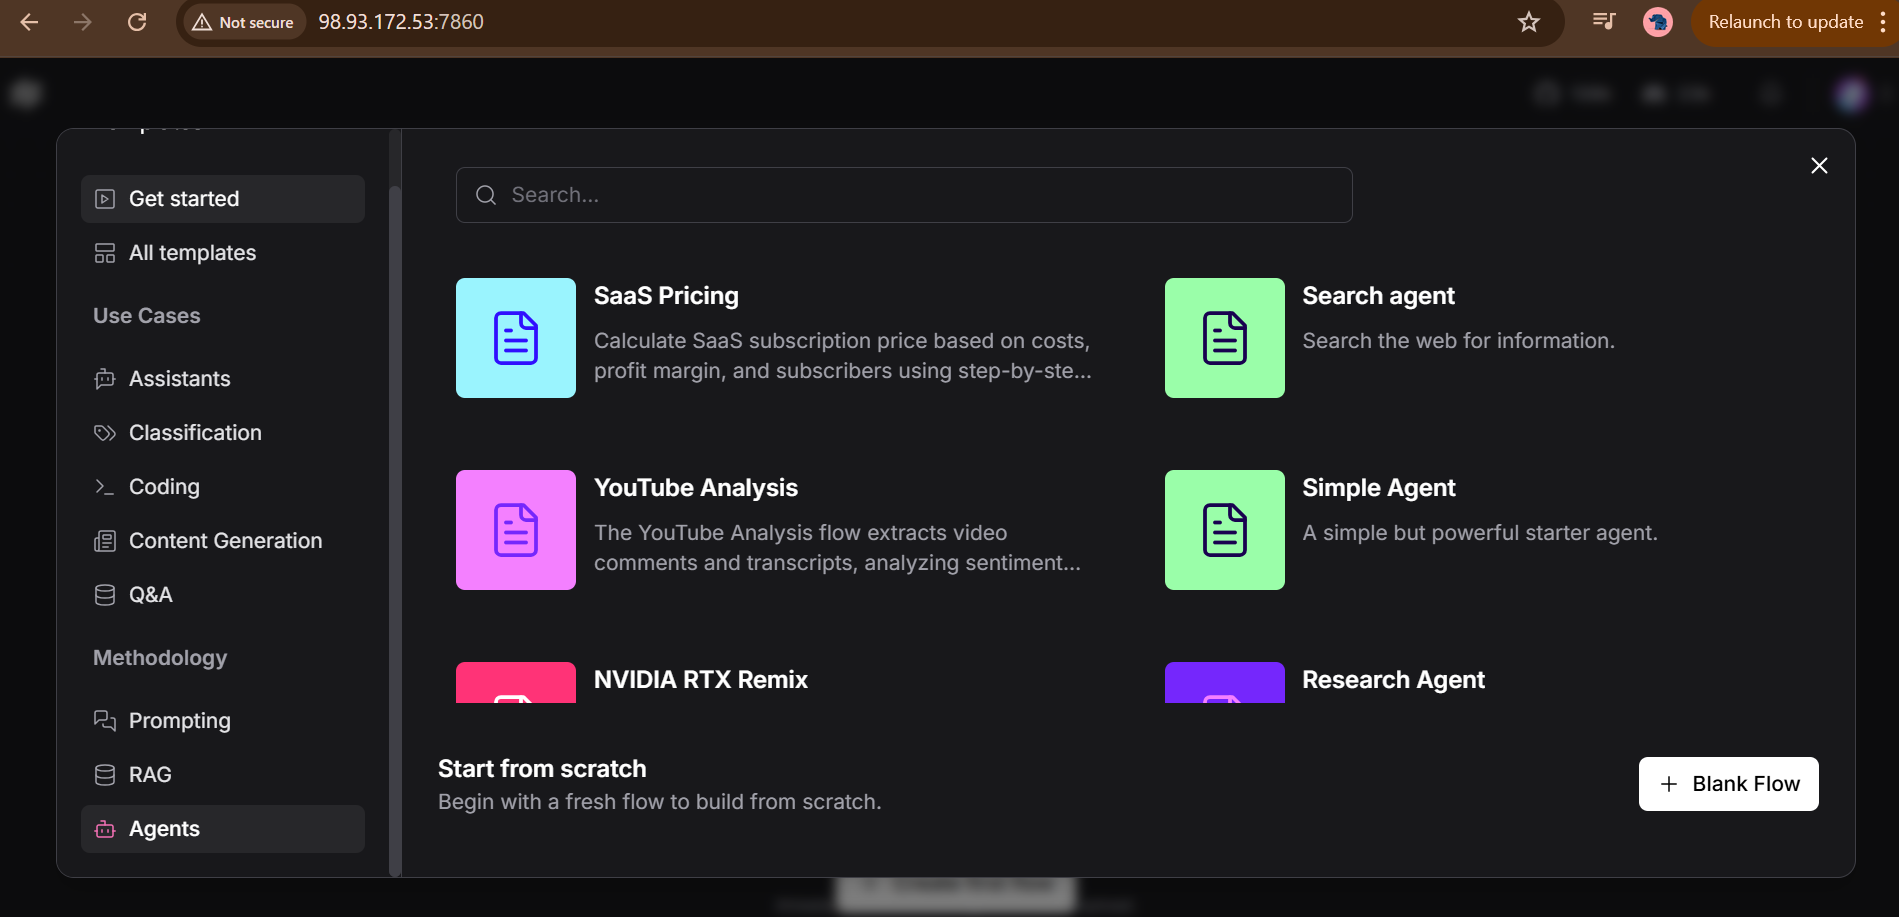
LangFlow brings a visual interface to your AI development, simplifying the design, testing, and deployment of workflows. Its intuitive drag-and-drop system allows you to map out AI pipelines, experiment with model outputs, and optimize application logic without writing excessive code. This accelerates development while ensuring accuracy and flexibility.
Flowsie extends your capabilities by enabling real-time integration and interaction. It allows applications to fetch live data, process it intelligently, and make autonomous decisions, making your AI applications dynamic and highly responsive.
Together, these tools form a complete ecosystem for building AI-powered products such as chatbots, virtual assistants, recommendation systems, data processors, and interactive platforms. They are designed for scalability, ease of use, and seamless integration with existing systems.
Whether you are a software developer, AI engineer, or business looking to leverage AI, AI Application Development with LangChain, LangFlow & Flowsie provides the tools to innovate and deliver intelligent solutions efficiently. Transform ideas into production-ready AI applications with minimal effort and maximum impact.
- Type virtual machines in the search.
- Under Services, select Virtual machines.
- In the Virtual machines page, select Add. The Create a virtual machine page opens.
- In the Basics tab, under Project details, make sure the correct subscription is selected and then choose to Create new resource group. Type myResourceGroup for the name.*.
- Under Instance details, type myVM for the Virtual machine name, choose East US for your Region, and choose Ubuntu 18.04 LTS for your Image. Leave the other defaults.
- Under Administrator account, select SSH public key, type your user name, then paste in your public key. Remove any leading or trailing white space in your public key.
- Under Inbound port rules > Public inbound ports, choose Allow selected ports and then select SSH (22) and HTTP (80) from the drop-down.
- Leave the remaining defaults and then select the Review + create button at the bottom of the page.
- On the Create a virtual machine page, you can see the details about the VM you are about to create. When you are ready, select Create.
It will take a few minutes for your VM to be deployed. When the deployment is finished, move on to the next section.
Connect to virtual machine
Create an SSH connection with the VM.
- Select the Connect button on the overview page for your VM.
- In the Connect to virtual machine page, keep the default options to connect by IP address over port 22. In Login using VM local account a connection command is shown. Select the button to copy the command. The following example shows what the SSH connection command looks like:
ssh azureuser@<ip>
- Using the same bash shell you used to create your SSH key pair (you can reopen the Cloud Shell by selecting >_ again or going to https://shell.azure.com/bash), paste the SSH connection command into the shell to create an SSH session.
Usage/ Deployment Instructions
Connect to VM- Port- 22.
Then ssh into vm.
Run:
docker ps

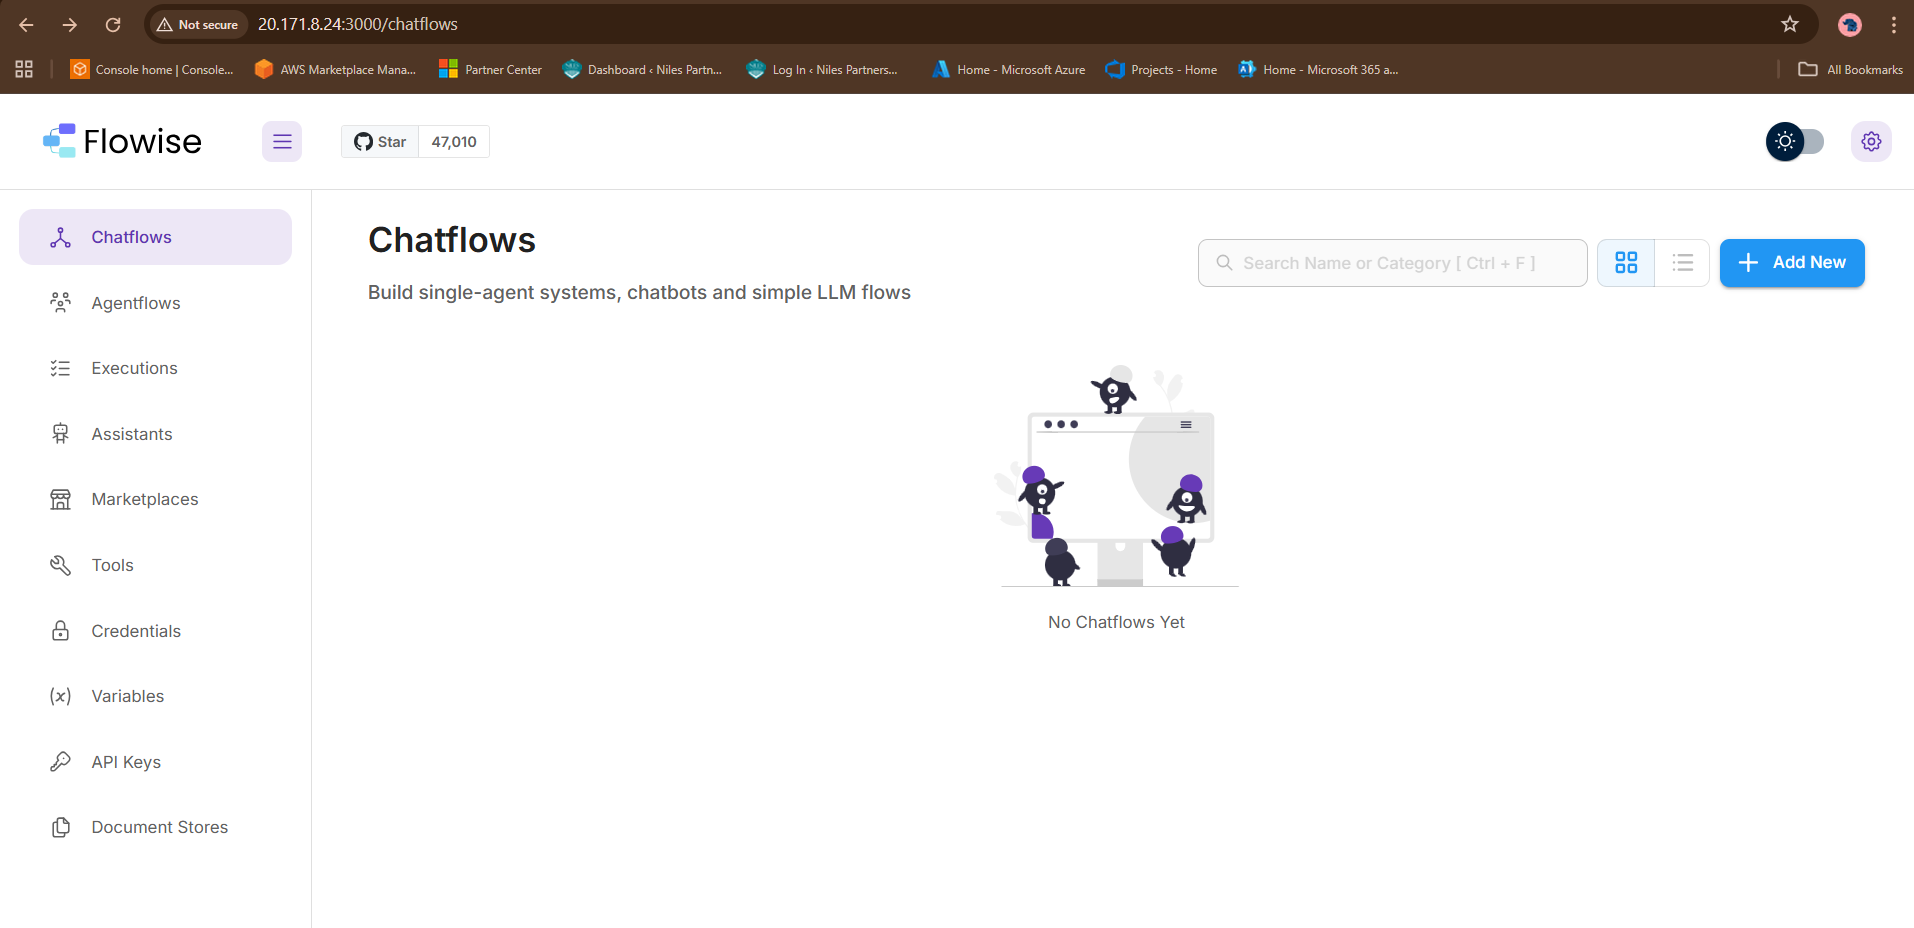
http://<instance-ip-address>:3000
sudo su
cd ~/Flow
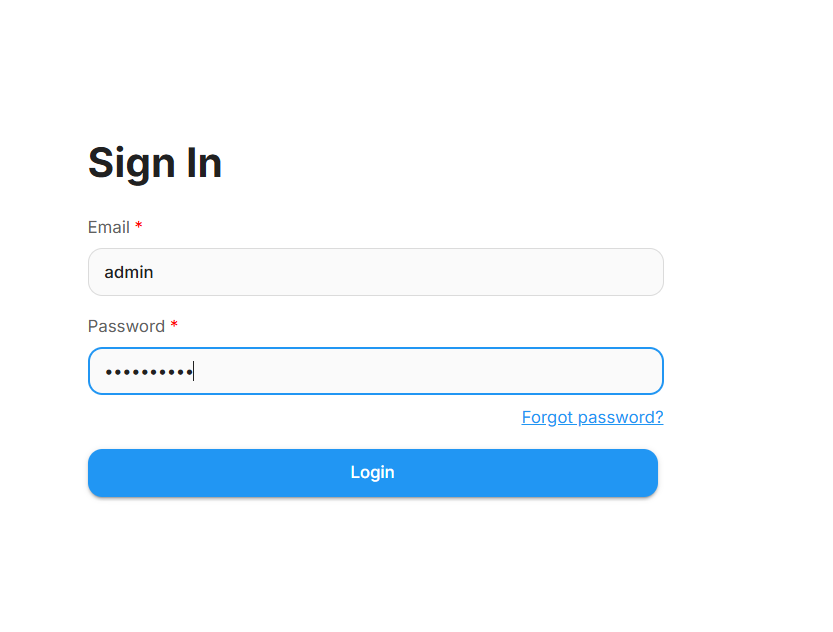
cat flowise_admin_details.txt
change password after login go to Account setting.

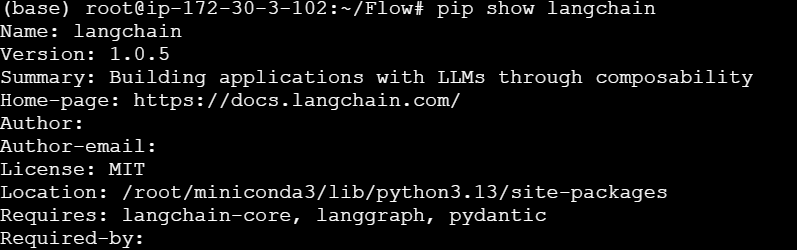
You can check the Langchain
pip show langchain
Next
cd ~/Flow
conda activate
conda activate Flow
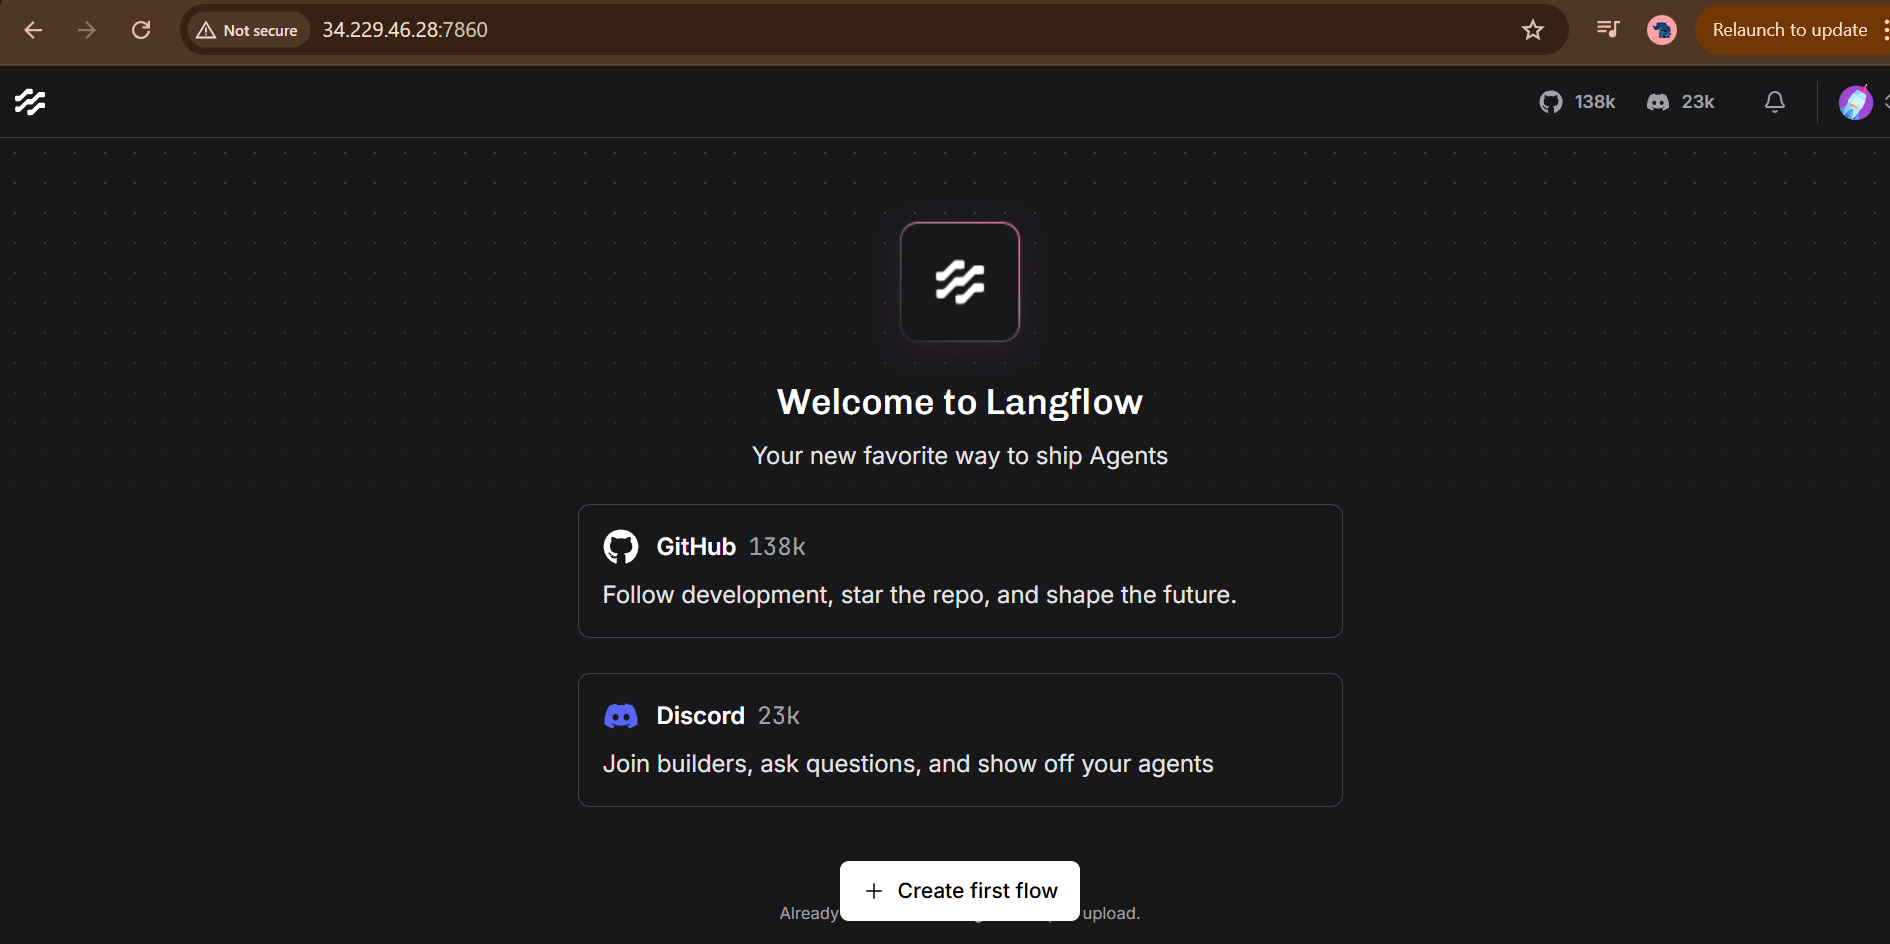
langflow run –host 0.0.0.0 –port 7860
Take some time to load first time.
Step 2: Use your web browser to access the application at:
http://<instance-ip-address>:7860
Take some time to load.
Port Reference:
Langflow: TCP 7860(Accessible at http://<ip>:7860 and Flowise <ip>:3000
For Azure firewall configuration, consult the Azure Network Security Groups documentation
- (510) 298-5936
Submit Your Request
Highlights
- Full-stack AI development with LangChain, LangFlow & Flowsie.
- Build context-aware, intelligent applications quickly.
- Scalable and production-ready solutions
Application Installed
